PC Builders Guide: How to Properly Install a Power Supply Unit
Properly installing a power supply unit (PSU) is critical when building or upgrading a computer. The PSU supplies power to all components within the PC. Proper installation is essential to ensure system stability and performance. I've outlined a tutorial for safe and correct PSU installation. These guidelines will help you achieve the best results.
Tools needs and Safety Precautions.
Gather the tools needed for the hardware installation. The PSU requires a Phillips head screwdriver. An anti-static wrist strap is optional, but it is highly recommended. Include the zip ties for cable management. Being prepared with the right tools will make the installation process smoother.
As a safety precaution, turn off and unplug the PC from the wall. Using wrist straps helps discharge electricity from the body and also ground yourself by touching a metal object like a door knob or a metal part of the PC case. Following these steps will help prevent electrical shocks while working on a PC. Always prioritize safety when handling electronic devices.
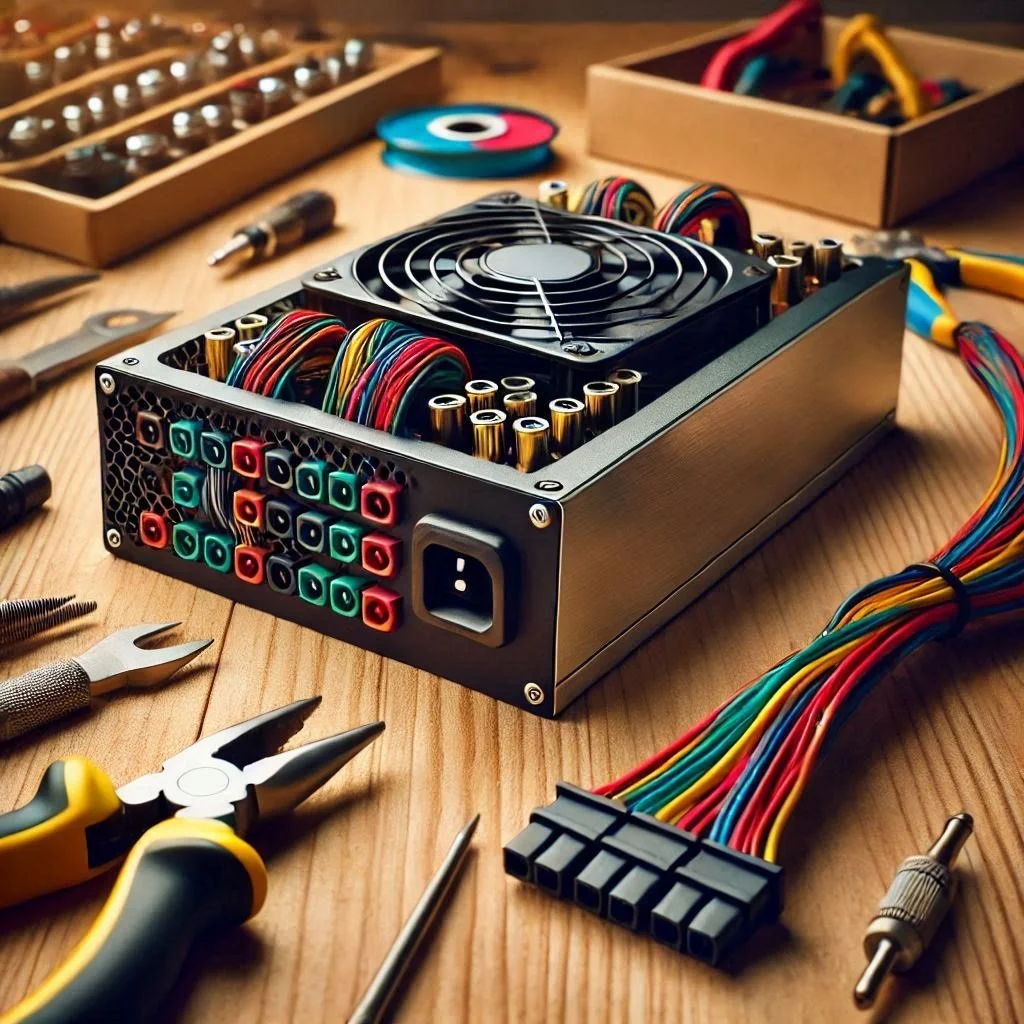
This is a NZXT 850W C850 Gold ATX 3.1 Modular Power Supply (Black)
Prepare the workspace and insert the PSU.
Place the PC case on a firm, clean surface to ensure stability during installation. Ensure the workspace is free of unwanted debris and boxes for a more transparent environment. Having less clutter brings peace of mind and aids in proper installation. Keep all cables and screws from the PSU package within easy reach for convenience.
Find the mounting bracket or slot for the PSU at the PC case's lower rear. Carefully slide the PSU into the bracket, align the screw holes with those on the case. Ensuring that the PSU fan faces the correct airflow direction is vital. If mounted on the bottom, the fan should face downward or be directed towards the open grille.
How it's time to secure and Connect the PSU to the motherboard
Start securing the PSU to the case using the provided screws. Using a Phillips head screwdriver, tighten each screw in a cross pattern. This method helps to distribute the pressure across the PSU evenly. Ensure that each screw is properly fastened for stability.
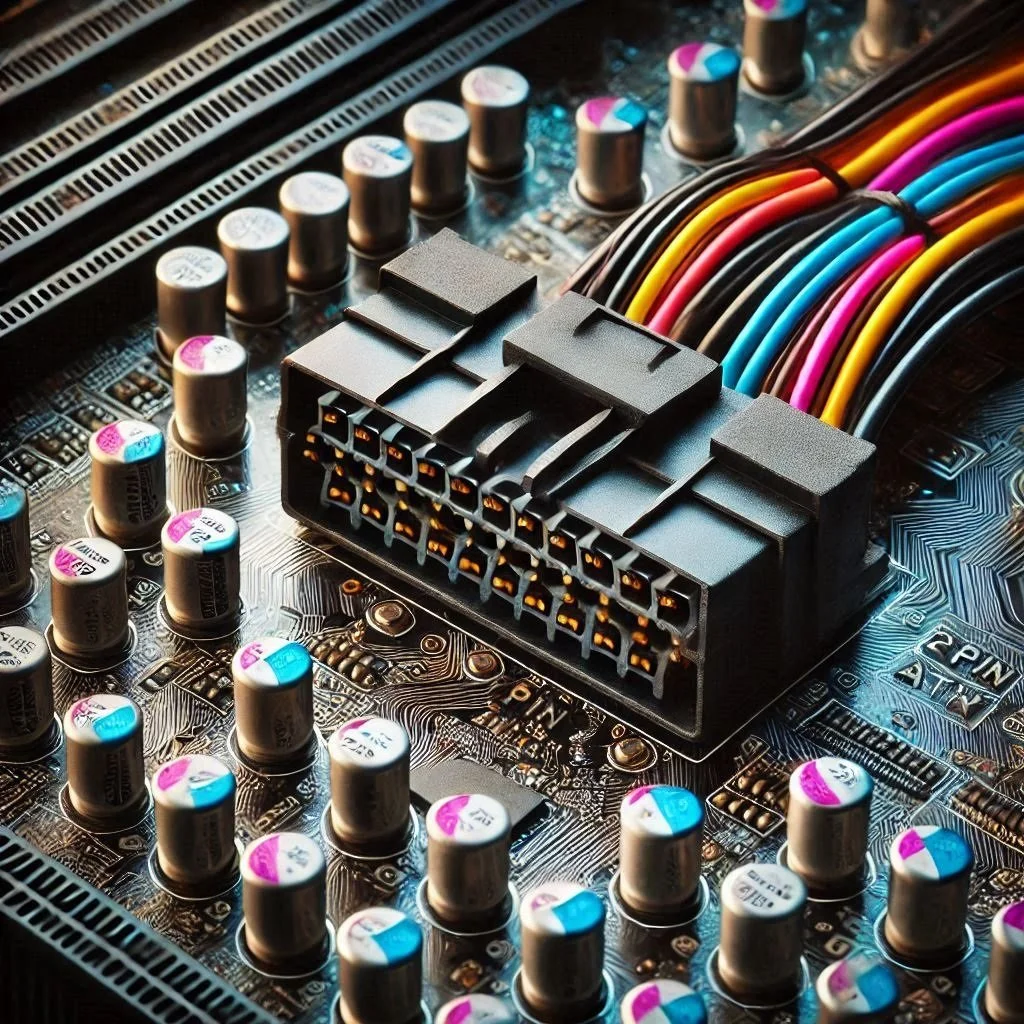
What you see in this AI image I created is a 24-PIN ATX connector
Connect the PSU to the motherboard by identifying the 24-pin ATX connector and plugging it into the corresponding ports. Listen for a 'Click' sound to ensure the cables are securely in place. Next, locate the 4-pin or 8-pin CPU power connector. Then, plug it into the CPU power port, usually near the motherboard's CPU socket.
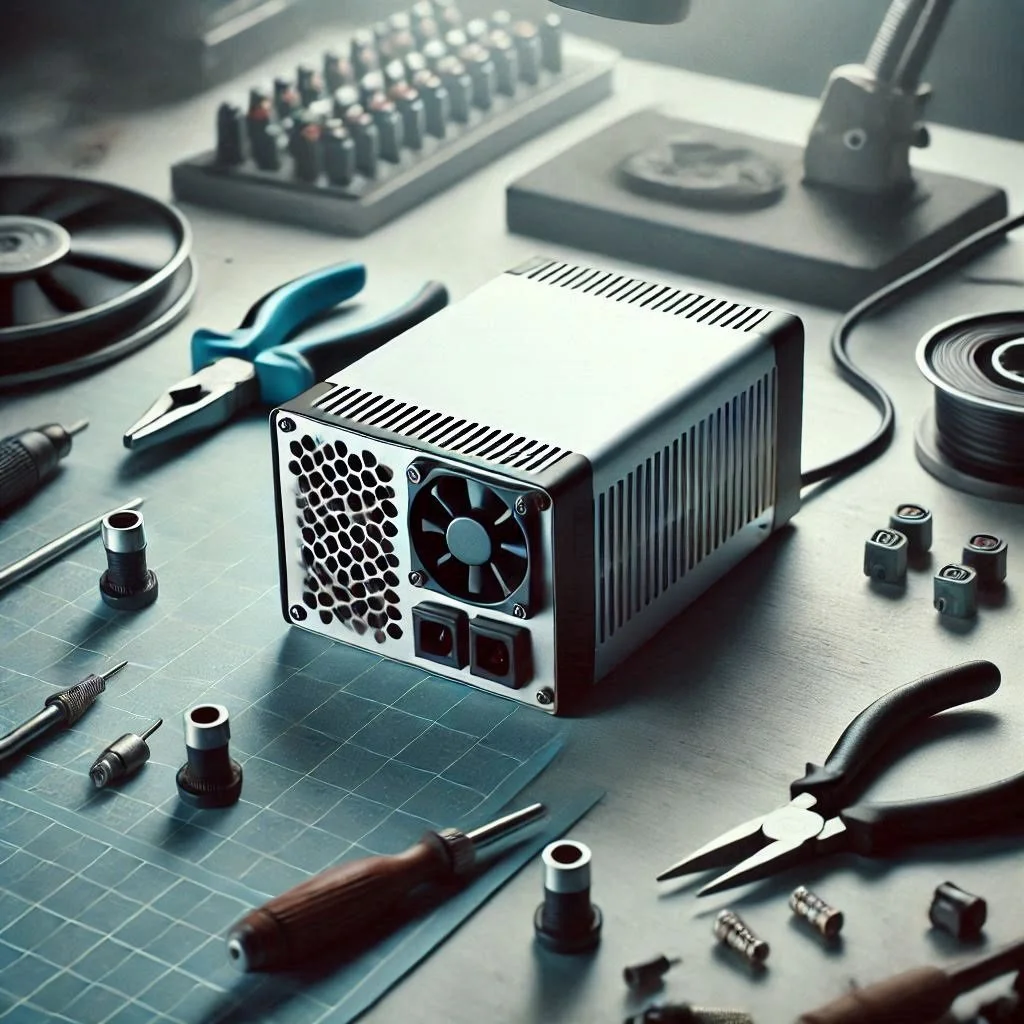
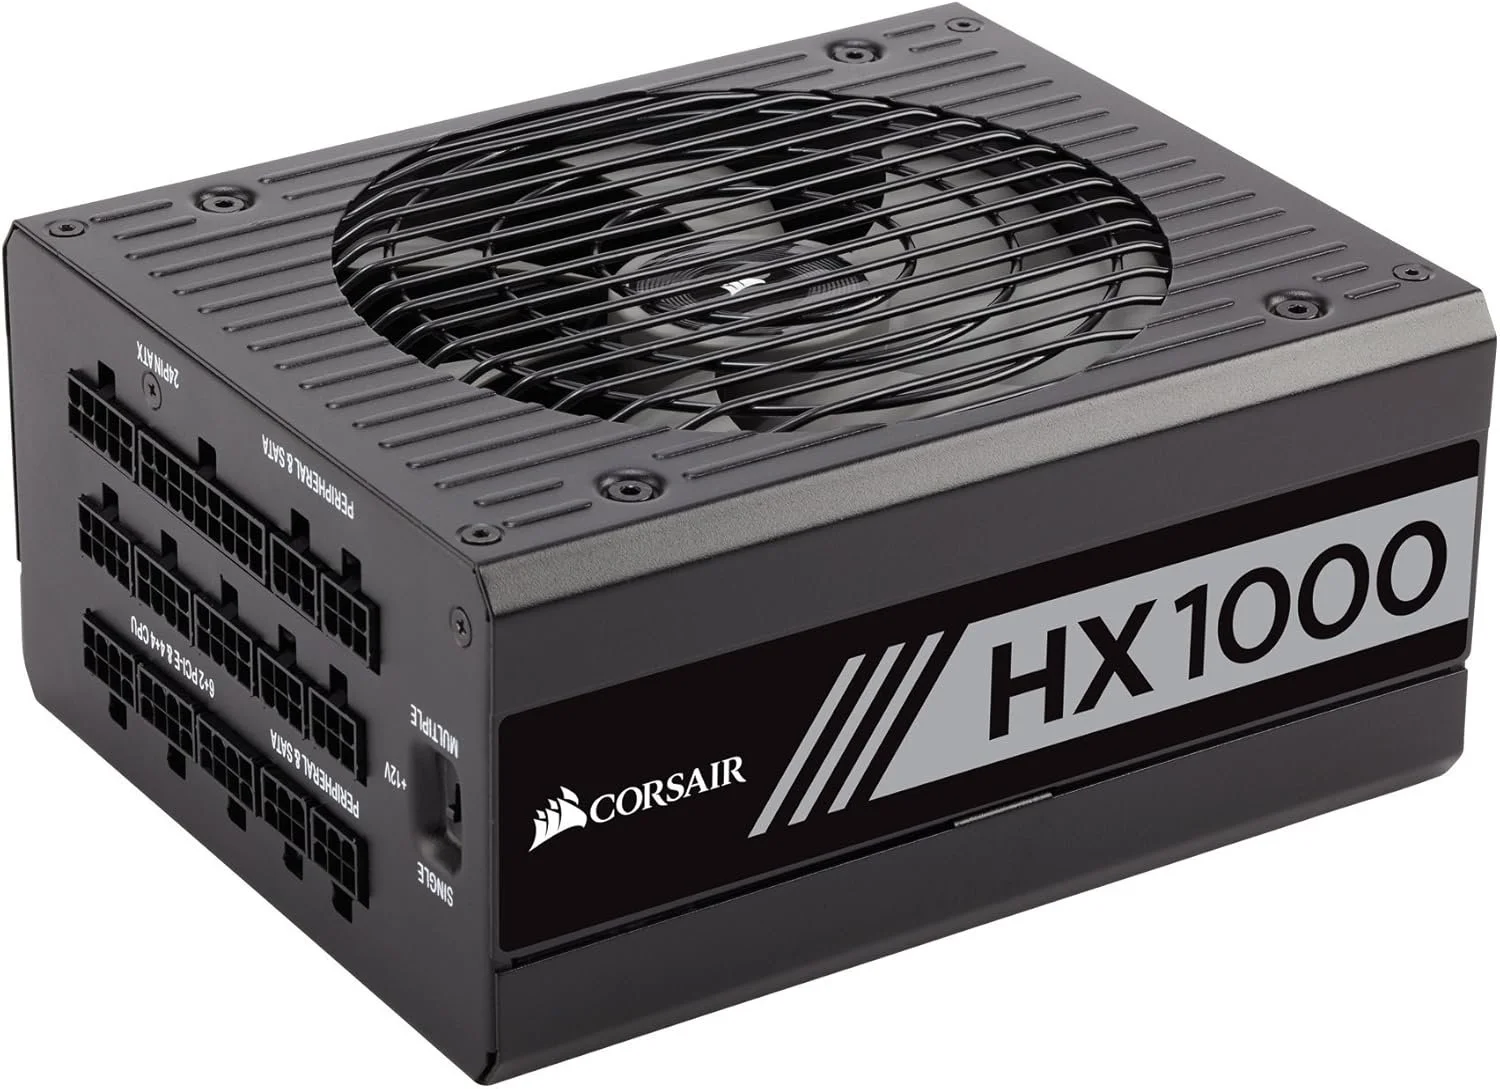
This is a Corsair HX Series, HX1000, 1000 Watt, Fully Modular Power Supply, 80+ Platinum which you can purchase on Amazon
Connect the Graphics card and Storage Drive's
Today's modern graphics require additional power from the PCIe connectors, which are inserted in 6-pin or 8-pin connectors into the graphics card. It's worth noting that high-end graphics require two 8-pin connectors ( 16 in total). If you have SSDs or hard drives ( the spinning HDD), use the SATA power connectors to power the storage drives. Ensure each connector clicks in securely.
Manage the Cables and Check Connections
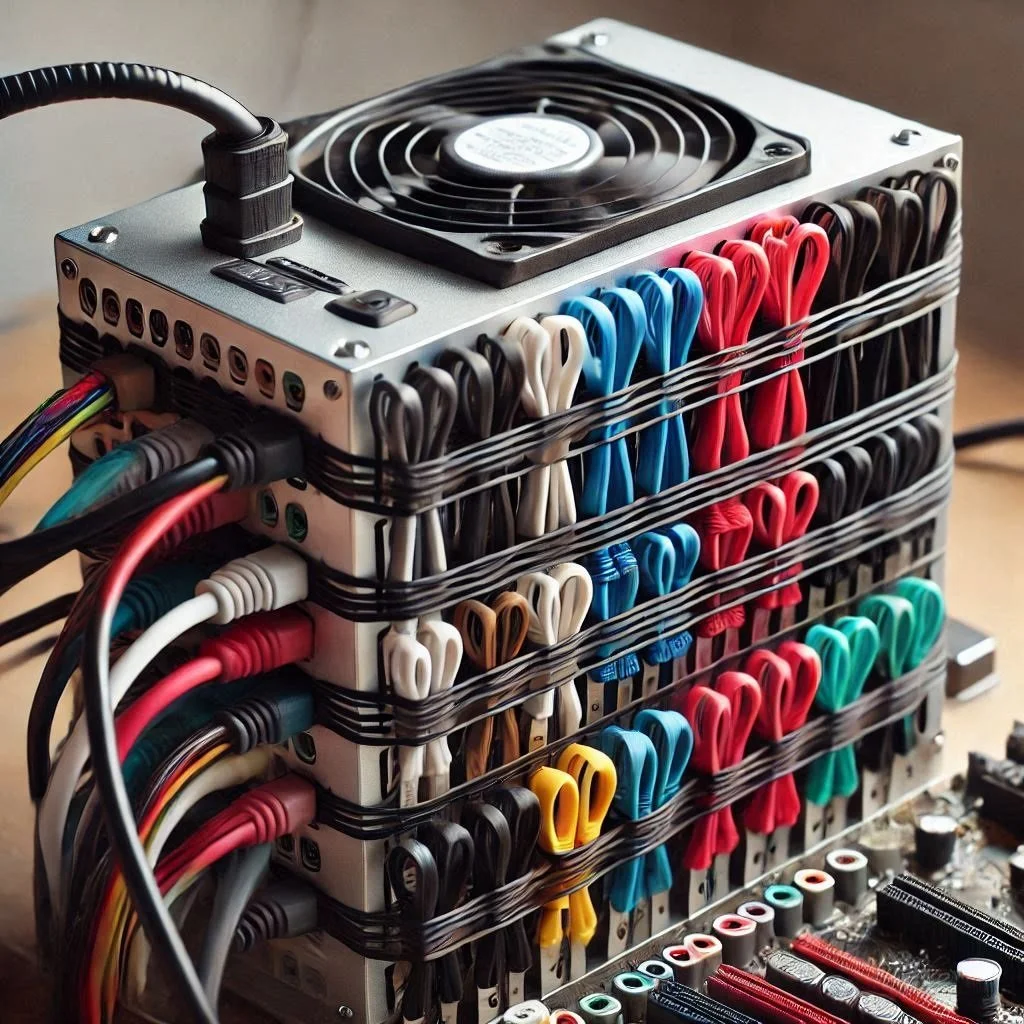
Managing cables brings enjoyment to the PSU installation process. Tidy the wires neatly with zip ties or cable organizers. This organization enhances airflow within the case and contributes to a neat appearance. Verify that all connections are secure and properly placed. It is essential to ensure no connectors are loose or improperly seated.
Put it To The Test
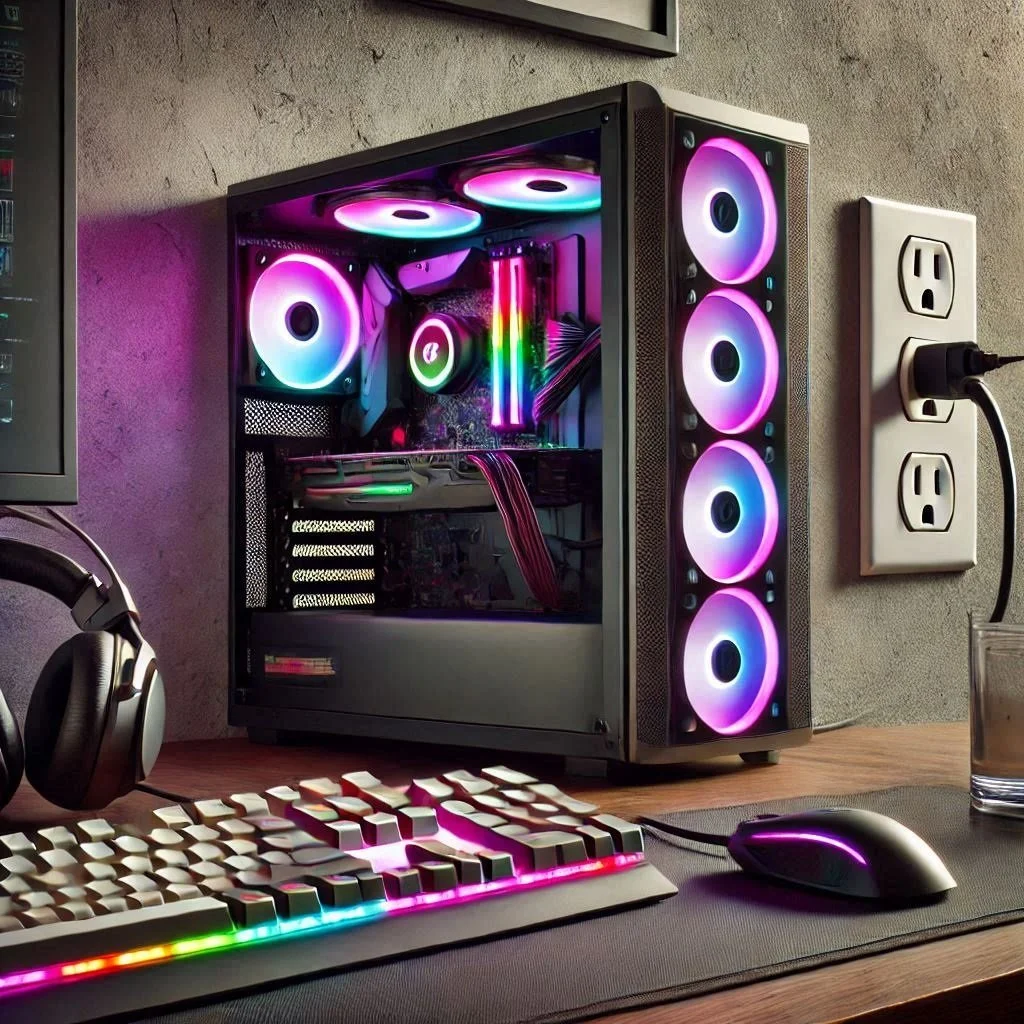
Before assembling the case, plug the PC into an outlet and turn on the power supply switch. Press the power button to confirm that the cooling fans are spinning, the motherboard powers up, and there are no unusual noises or glaring issues. If everything appears to be functioning properly, turn off the PC correctly and unplug it from the outlet. This initial check is crucial to ensure all components work before final assembly. Taking these steps helps avoid potential problems later in the setup process.
The Assembly
If you're satisfied with the power-on test, secure any remaining cables and screw the case panel back into place. Plug your PC back in and power up your system. Add components and install your operating system if this is a new PC build.
Properly installing your PSU can significantly affect your system’s longevity and performance. If you encounter issues, consult your PSU manual or seek help from online forums or professional technicians.


