
Tech Tutorials: How To Install RAM

Probably the easiest hardware upgrade you can make is installing RAM. Upgrading to more RAM will allow any user to run more intensive applications, open more tabs on your Google Chrome web browser, which we all know has a reputation for being a system hog. For first-time hardware upgraders and builders, let me guide you in your first memory installation.
Before you proceed, here are a few things you need to know
Before you purchase your RAM, check your motherboard manual. If you don’t have access to a manual, locate the motherboard model number printed on the board. Use it to find the manual online, which is usually located on the manufacturer’s website. From there, you will find a list of approved memory modules.

The model number on the motherboard is usually located on the package it came in.
In modern-day 2021, most motherboards on the market support DDR4, with frequencies ranging from 2,133MHz, a low-end option, to as high as 4700MHz. You will find much older systems support DDR3 or even DDR2 memory. But most computers today use the current generation DDR4 memory module.

These are anti-static wrist straps.
Even though installing RAM is a straightforward process, be wary of static electricity. Electrical charges can cause damage to your motherboard. So as a safety precaution, before opening up your computer, be sure to ground yourself. Do so by touching the metallic portion of your PC’s chassis, or, as an option, you can purchase anti-static wrist straps. This will discharge electricity from your body.
Now For The Installation
Step Number One: Make sure you disconnect the power cable and other cables from the back of your PC panel. Then place your computer in a sufficient workspace. Lay your computer on its side on a flat surface.

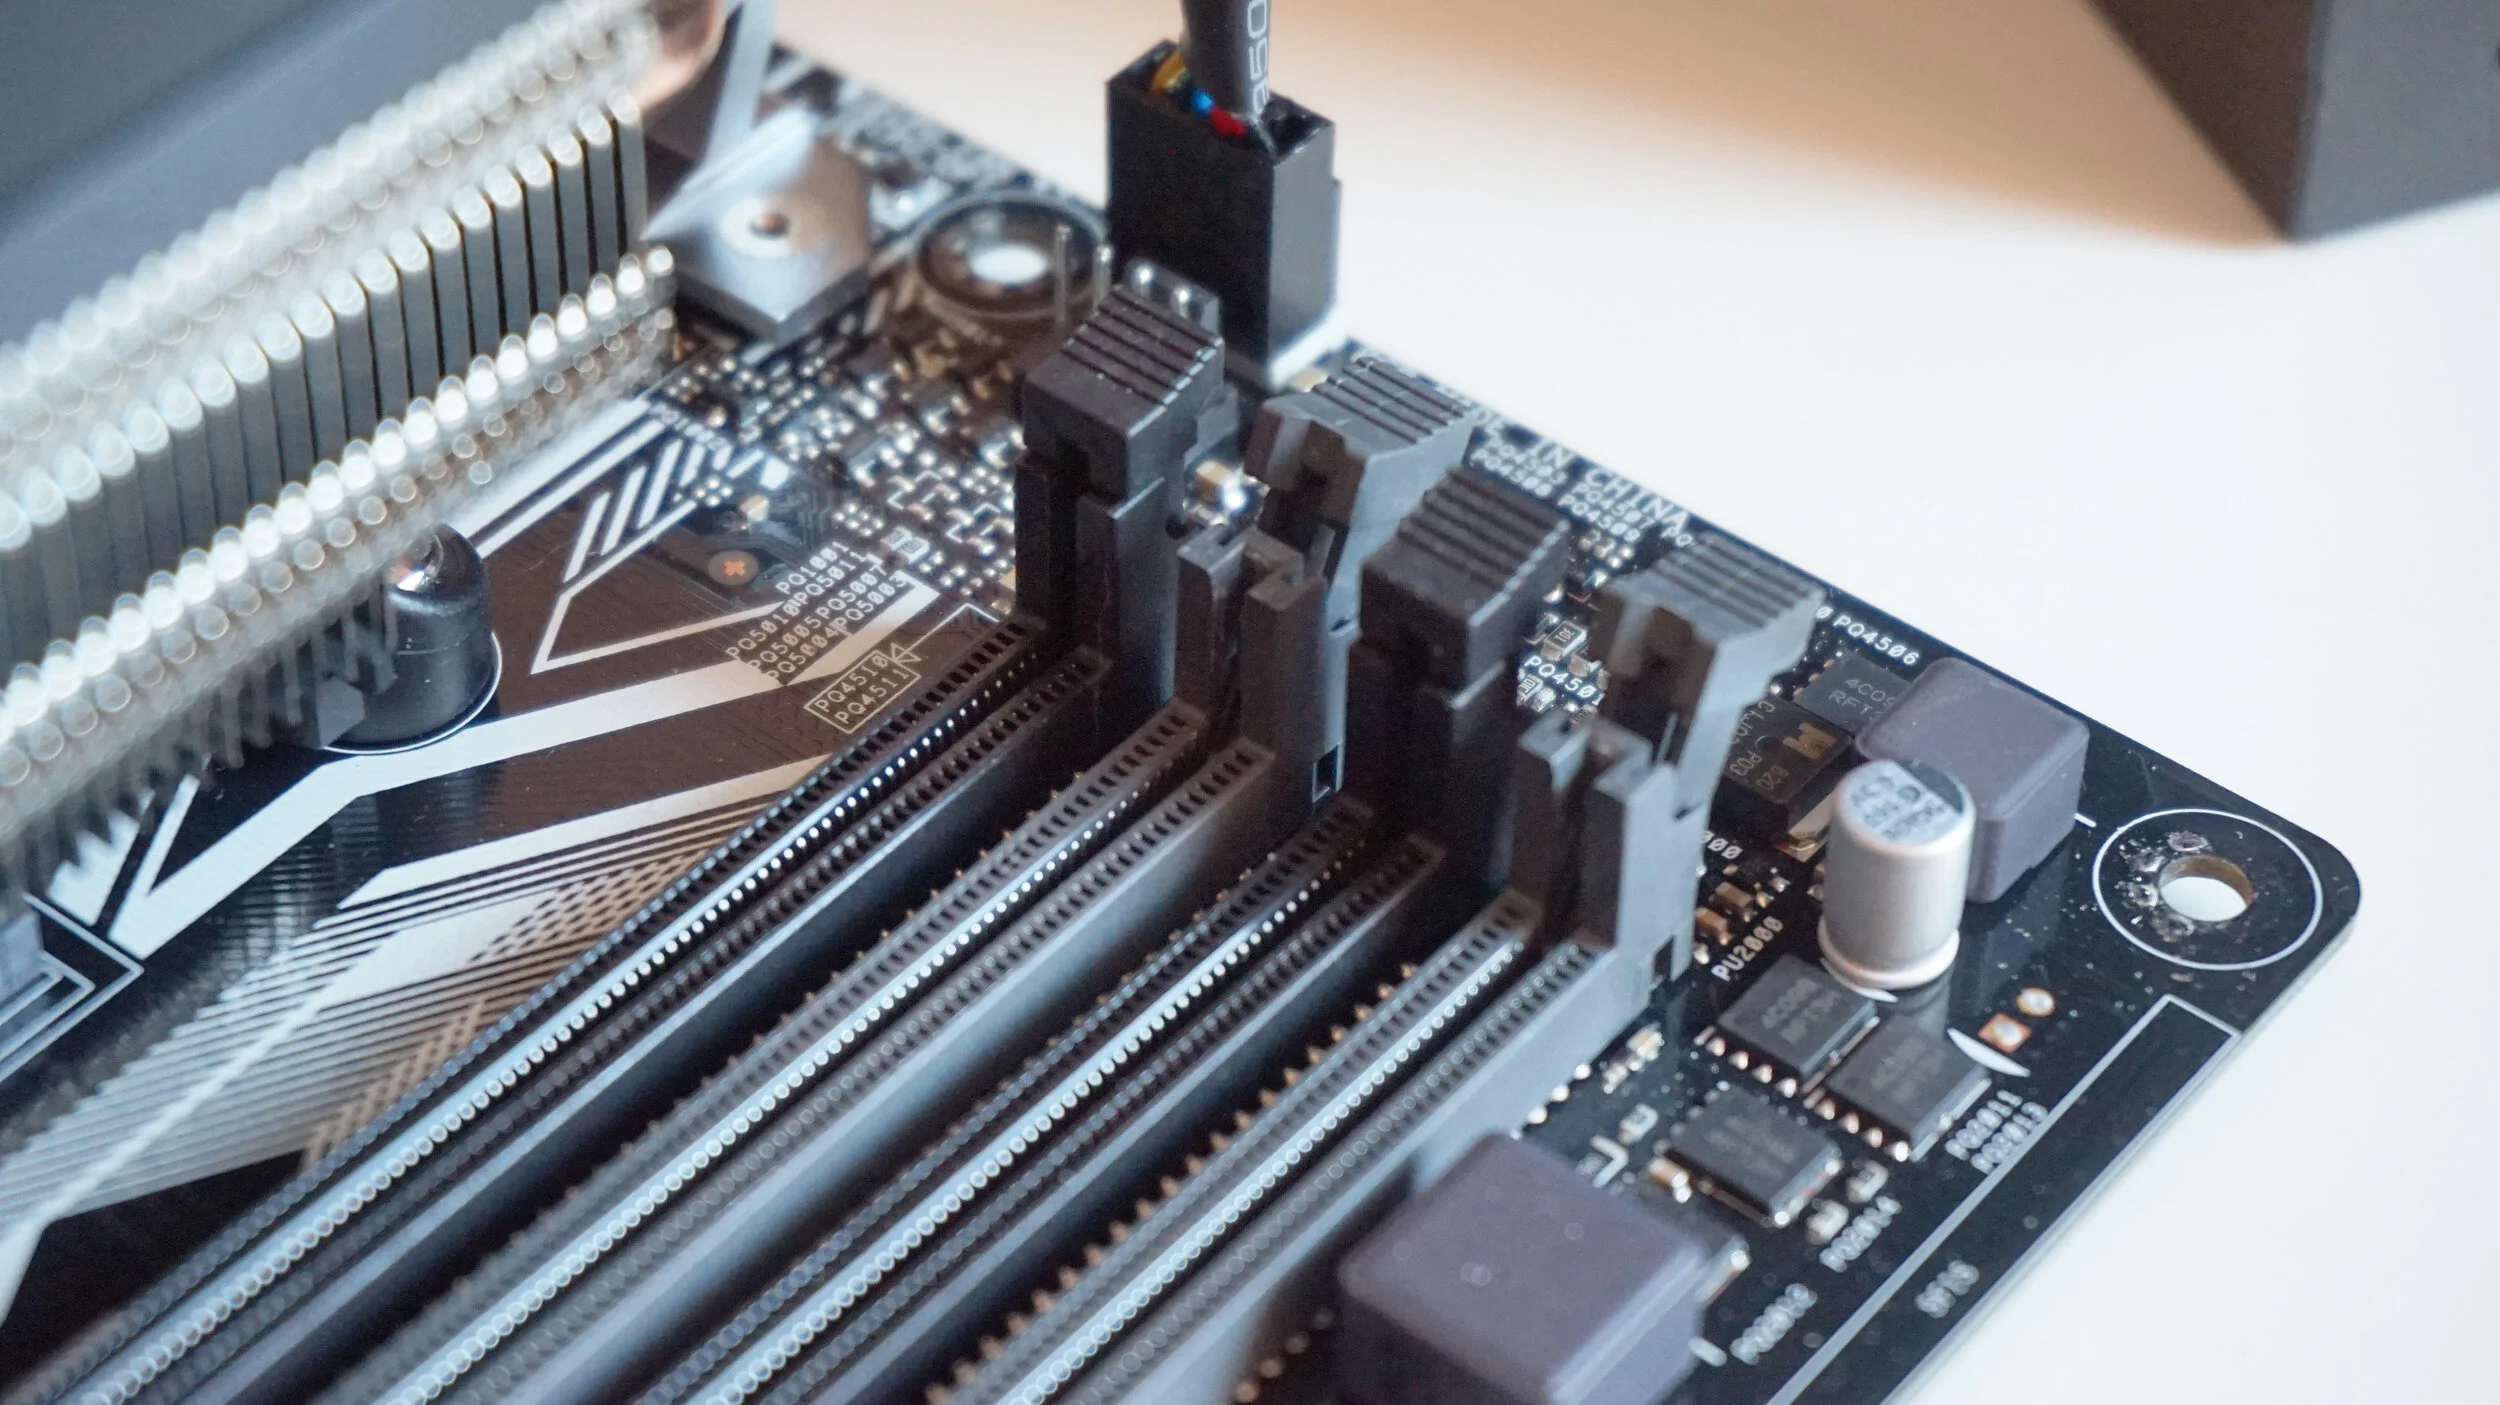
Step Number two: Remove the left side panel so you can gain access to the interior. Locate the RAM slots. The slots are long and usually located right next to the processor. Once you found the slots, there are numbers between two and eight and should include tabs on each end of the slot, which locks the RAM into place. Press these TABS in its downward position to eject and remove any RAM you have in place in that slot.
Step Number Three: This is where the motherboard manual is needed. Determine the correct slot, so you can get an idea of where the RAM will reside. Some motherboards prefer that you use the second and fourth slots if you're installing just two sticks. Others prefer that you install in the first and third slot. But in most cases, the motherboard manuals will recommend that use slots 1 and 2. Remember, READ your motherboard manual. Each slot will determine the RAM's bandwidth.
Before installing your new RAM, make sure the wings at the end of the slots are pushed downward, tilting away from the slot.
There is only one specific way to install RAM. Look directly at both sides of the RAM stick metal contacts; you'll notice a notch that's isn't centered. Line the notch up with the notch on the motherboard, which is also not centered. Don’t reverse the RAM; this will cause the stick to not click in place.
Once you correctly lined up the RAM stick, gently press down on the edges with your finger until the RAM stick locks in place. The retention clips will securely hold your RAM in place.
Noted: It takes some pressure to install RAM. Do not use excessive force on the RAM. Doing so can cause damage. Slowly apply pressure.
Step Number Four: Once the RAM is placed in the slot, certify that the wing clips are locked and held in place. Then Double-check and inspect your work. Are you confident with your memory installation? Then place the left panel back on your PC. Attach your cables back to your PC, importantly, the power cable. Now it's time to power up your computer.
The BootUp
If your computer has booted up without any problematic issues, it's safe to say you have successfully installed your RAM. If failed, your computer has a way of letting you know right away by not booting up entirely. If, by chance, your computer does not boot, make sure the RAM is seated correctly in place. You can re-seat the RAM, which usually solves the problem.
Once your PC has booted up to your operating system, check and see if you have the correct RAM amount displayed in your system profile. You should see full RAM capacity if your computer system is running a 64-bit operating system.
Noted: much older systems will display only 3.2GB after a larger upgrade due to it running a 32-bit operating system.

