Tech Tutorial 101: How To Install a CPU Cooler

You just inserted your brand new CPU into the socket. Now comes the hard part. We have to place the CPU cooler on the CPU. Improper installation or even not using a cooler can result in an overheated processor that will happen within seconds. So, let me guide you along with this tech tutorial, step-by-step instructions on installing a CPU cooler properly.
1:Applying The Thermal Paste
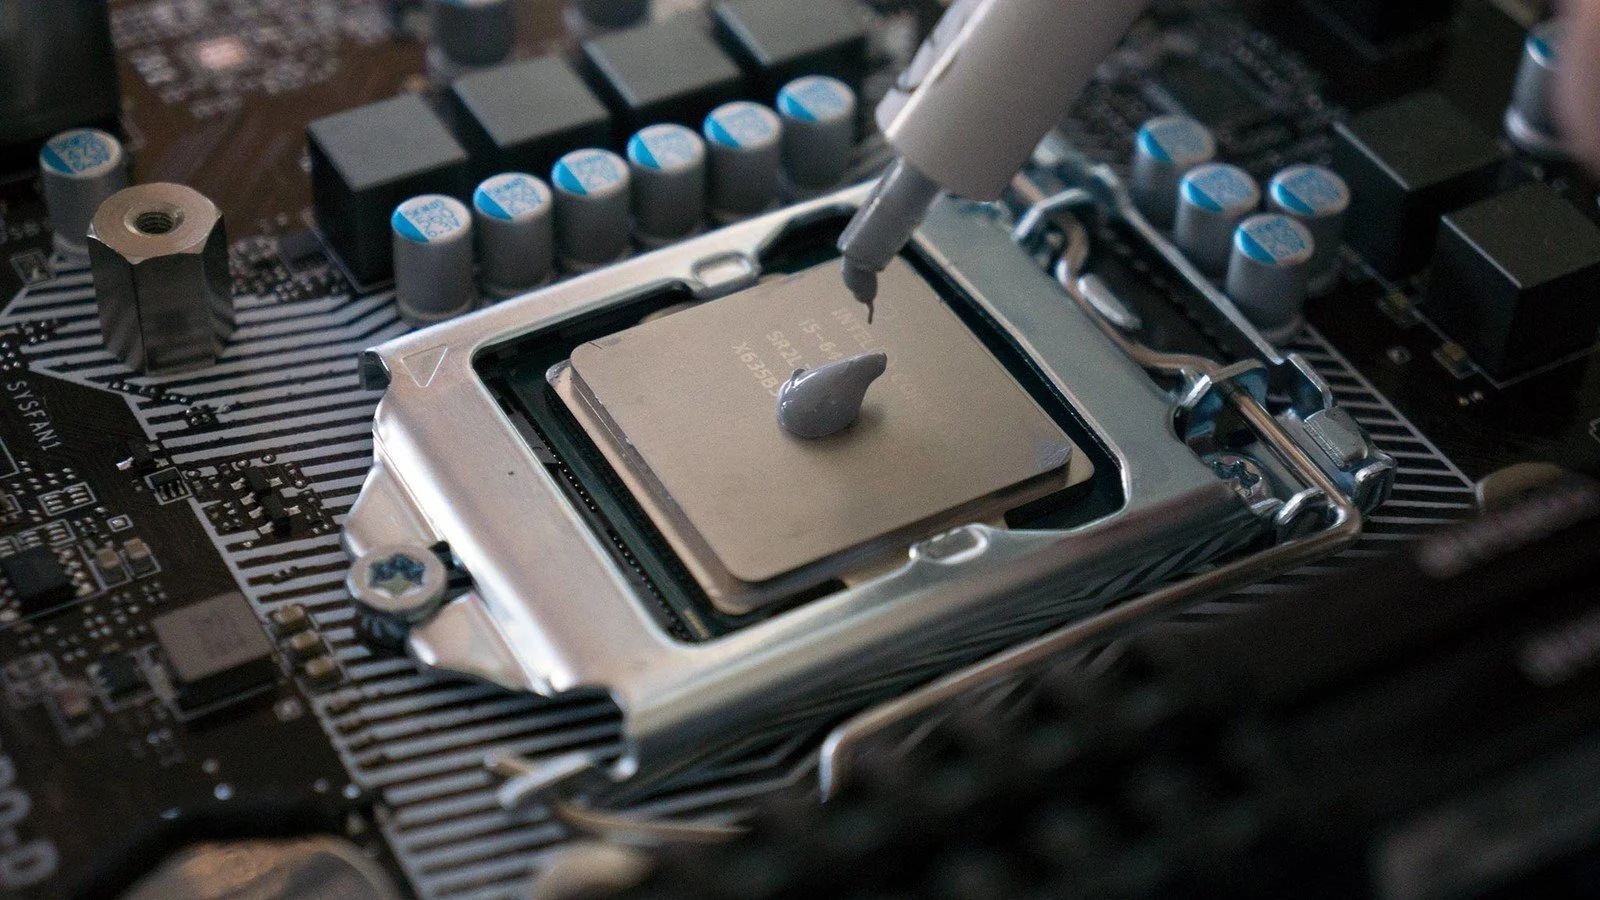
Believe it or not, applying thermal paste is a critical step when installing CPU coolers. Thermal paste actually discards any gaps between the top of the CPU and the cooler's base. Some coolers on the market come with pre-applied thermal paste on the bottom of the cooler. Check and see if that’s the case.
Apply the thermal paste on top of the CPU, just a tiny amount, about the size of a pea. You can also spread the thermal paste evenly across the CPU using a small plastic putty knife.
2: If there are standoffs, add them to the installation process

With some coolers and motherboards, you may need to insert standoff screws and brackets behind the motherboard in order to connect the cooler. AMD and Intel-based motherboards have different brackets. Check your CPU cooler's manual.
3: Align your CPU Cooler Now

You should now take your cooler and hold it directly over the CPU, carefully line up the screws with the holes in your motherboard or standoffs you installed before getting to this step. Then, gently lower the cooler on top of the CPU.
4: Now attach the CPU cooler
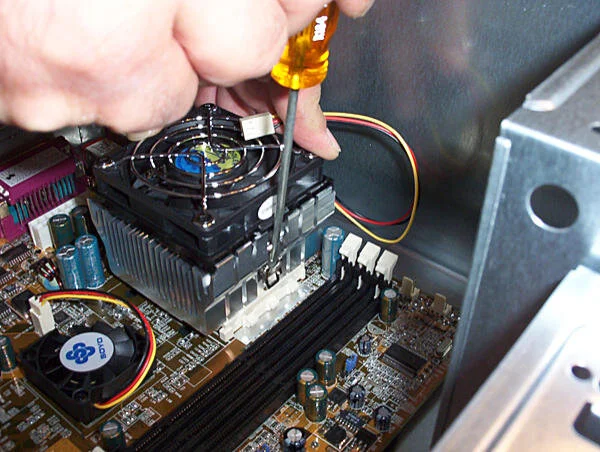
Now the cooler is in place. You may begin screwing or pushing in the connectors using an x-like pattern. Tighten the loosely first, then apply a little tension, but not too much force. A little warning, do not go directly around the CPU in a square pattern. Uneven pressure across the processor will result in improper cooling.
5: Don't forget to attach the fans
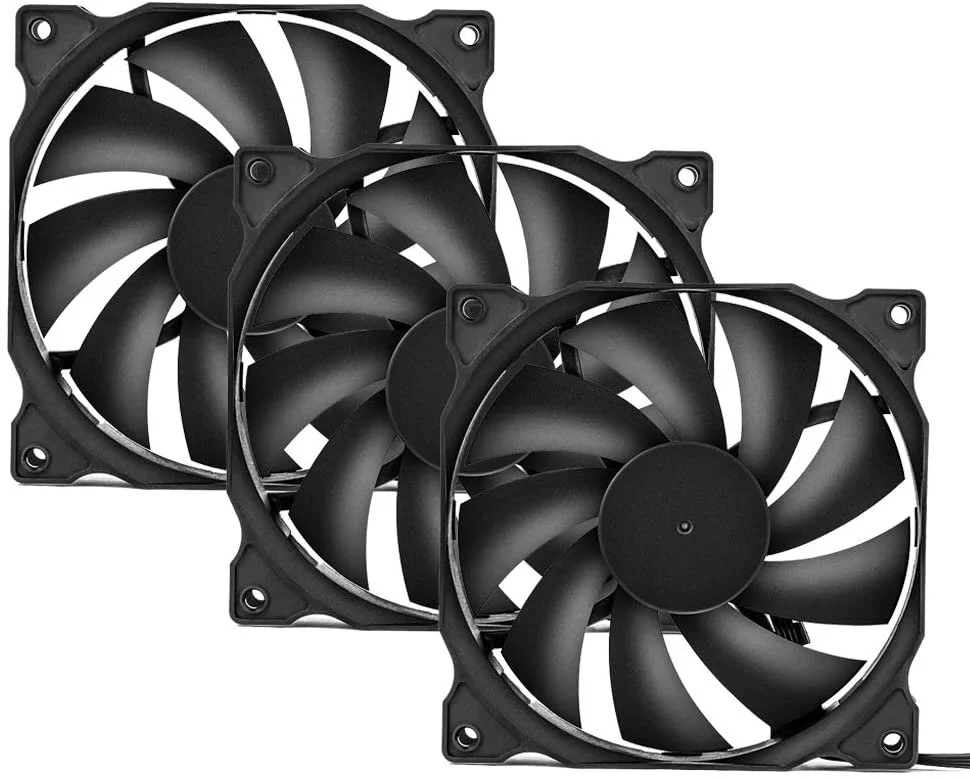
You likely had to remove fans from the cooler before installation; you can now attach the fans back on the cooler. How it connects depends on the fans and cooler. Check your manual.
Power up the CPU cooler

Now that everything is attached, it's time to power up the cooler. Even water pumps to air cooler fans and radiator fans need the power to cool down your processor. Most air coolers need to be connected to a connector on the motherboard. It usually reads "CPU_FAN. ." No matter what your setup is, make sure you have everything connected to a specific power source.
Now you're all done, enjoy your new PC build.