I'm going to show you how to install a power supply in your PC
Aside from the processor, the most essential hardware in a computer is the power supply. Besides doing the obvious, supplying power to your system, a quality power supply unit can extend the lifespan of any computer well beyond 5-6 years.
Today power supply units have become more intelligent and power efficient. Power supplies have sensors built in that detect when systems are idled or have high workloads—supplying power as needed. Still and all the unexpected can happen. Possible defective units can suddenly power spike causing it to engulf in flames or not function. A replacement unit is inevitable.
If you're new to installing hardware, a power supply can be intimidating, and rightfully so, it's the primary power source for your system. Not to worry, installing a power supply into a computer is easy. In this tutorial, I will address how to remove and install the PSU. Let's get right to it.
Know your connector cables before removing the unit; each serves a specific purpose. So you have the 6+2 pin connector providing power to the graphics card and CPU, 24 pin power cable supplying power to the entire mother, and the SATA power cables primarily for the storage drives.
Now you're going to need one thing: a Phillips head screwdriver. I strongly recommend having a plastic cup near you to dump your screws for later retrieval. Oh, I must add that you must ground yourself before working with PC hardware. Static electricity can cause irreparable damage to components.
Removing the Unit
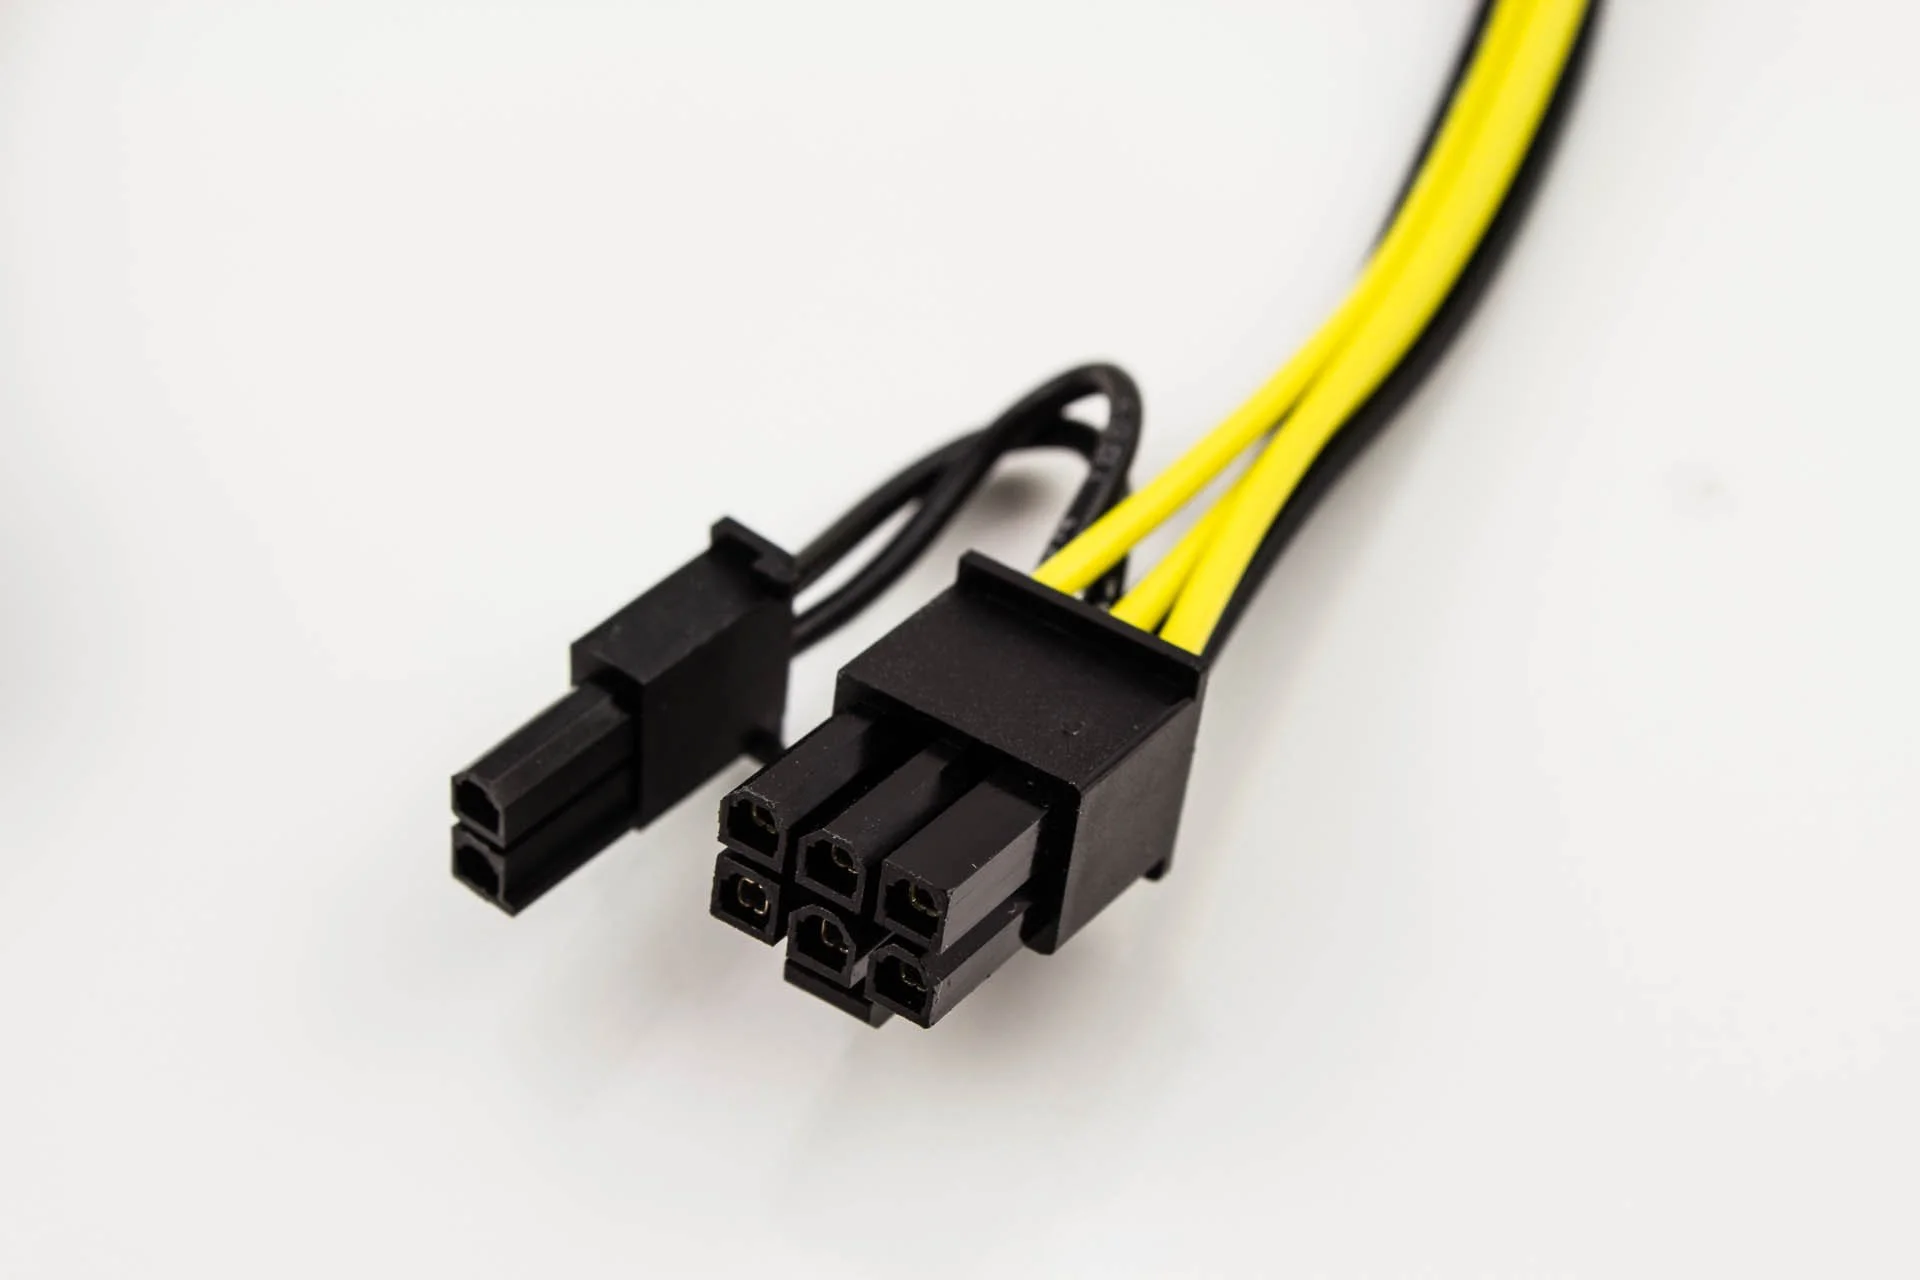
Do you not see this Four to 8pin PCIe connector?
Know your connector cables before removing the unit; each serves a specific purpose. You have the 6+2 pin connector providing power to the graphics card and CPU, 24 pin power cables supplying power to the entire mother, and the SATA power cables connecting to the storage drives.
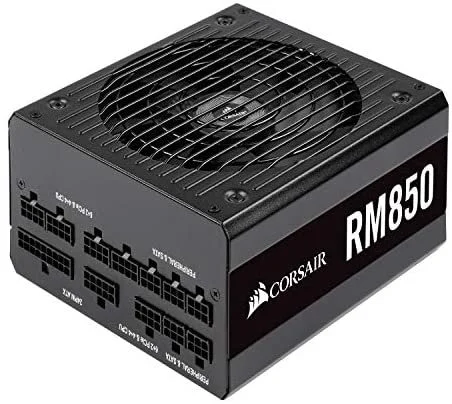
I must remind you again, this is a 24-pin connector
Now you're going to need one thing, a Phillips head screwdriver. I also strongly recommend having a plastic cup near you to dump your screws for later retrieval. Oh, I must add that before you open up the computer's panel, always ground yourself so you can discharge any electricity off your body. Static electricity can cause irreparable damage to your components.
The first thing you want to do is unplug the unit from the wall. Most power supplies have an accessible switch located in the rear; switch it to the off position. Next, make sure your system is powered down. Finally, remove the side panel to access the power supply.
Image source: Tech Powerup: Yes, this is a image source pic, but just look at the power switch to the off position
Now you want to unplug the power supply from the wall. But before you do that, access the power switch in the back of the unit and flip it to the off position.
Now, this is where the fun starts. Remember when I stated earlier in the post that various cables are connected to the motherboard and components. It would be best to disconnect those cables first to remove the power supply from the case. If you're replacing a modular power supply, I recommend that you remove the cables from the unit first.
The first thing you should remove is the four or eight-pin power connector located next to the CPU socket. Next, remove the 24-pin power cable from the motherboard. The graphics card currently in your PC is powered with a four or eight-pin cable; if so, disconnect it. Finally, we must address the storage drives. No matter if it's an HDD or SSD, remove the cables. As you remove each cable, pull all of them out of the case.
Next, using your Phillips head screwdriver, remove the screws that hold the power supply in place. There are usually only four screws. Remember that plastic cup mentioned earlier in the post? Put the screws in the cup so you won't lose them.
The Installation
You have now completely removed the old or damaged power supply from the case. Now it's time to install your new unit.
I'm not going to get into what type of power supply you should purchase or what's the best on the market. However, several publications on the web do an excellent job with the buyer's guide. I use two main factors as a guide before I purchase a power supply: power efficiency and wattage. Manufacturers use an 80 Plus rating system table, 80-plus Bronze, Silver, Gold, Platinum, and Titanium being the highest rating. The higher the rating, the more reliable and efficient the unit is. The amount of wattage needed is based solely on one piece of hardware, the graphics card. A new or powerful graphics card demands a higher wattage power supply. I usually purchase a high-wattage unit because I may use more power for future component upgrades.
I'm assuming you just purchased a modular supply, preferred in the pc building community. Removable cables come with the unit; figure out which ones you'll need to power up your components and plug them into the power supply. You do this before you insert the unit into the case; it makes the whole installation process much more manageable.
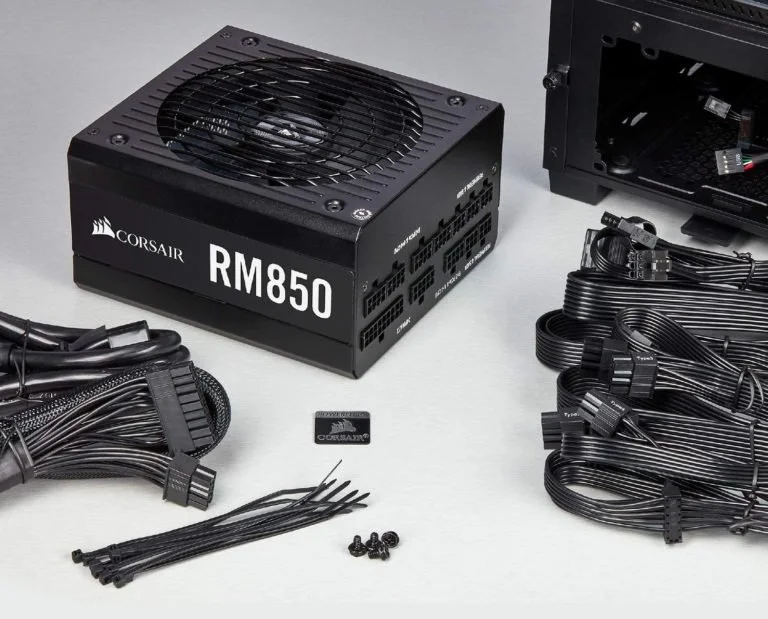
This is a Modular power supply. No wires attached, connection as needed
Insert the new power supply into the same position as your old one in your PC case. Your new unit comes with screws ( or you can use the screws in your plastic cup); secure the unit by screwing it in place.
The time has come to insert the cables behind the motherboard. Pull each connector through the cut-out holes near the plug for each one. Firstly, plug the 24-pin power connector into the motherboard, then the four or 8-pin CPU power connector. Next, plug in the SSDs and HDDs as needed. Then finally, plug the PCIe four-eight pin power cables into the graphics card. Before you power up your computer, thoroughly check to see if all your cables are secured.
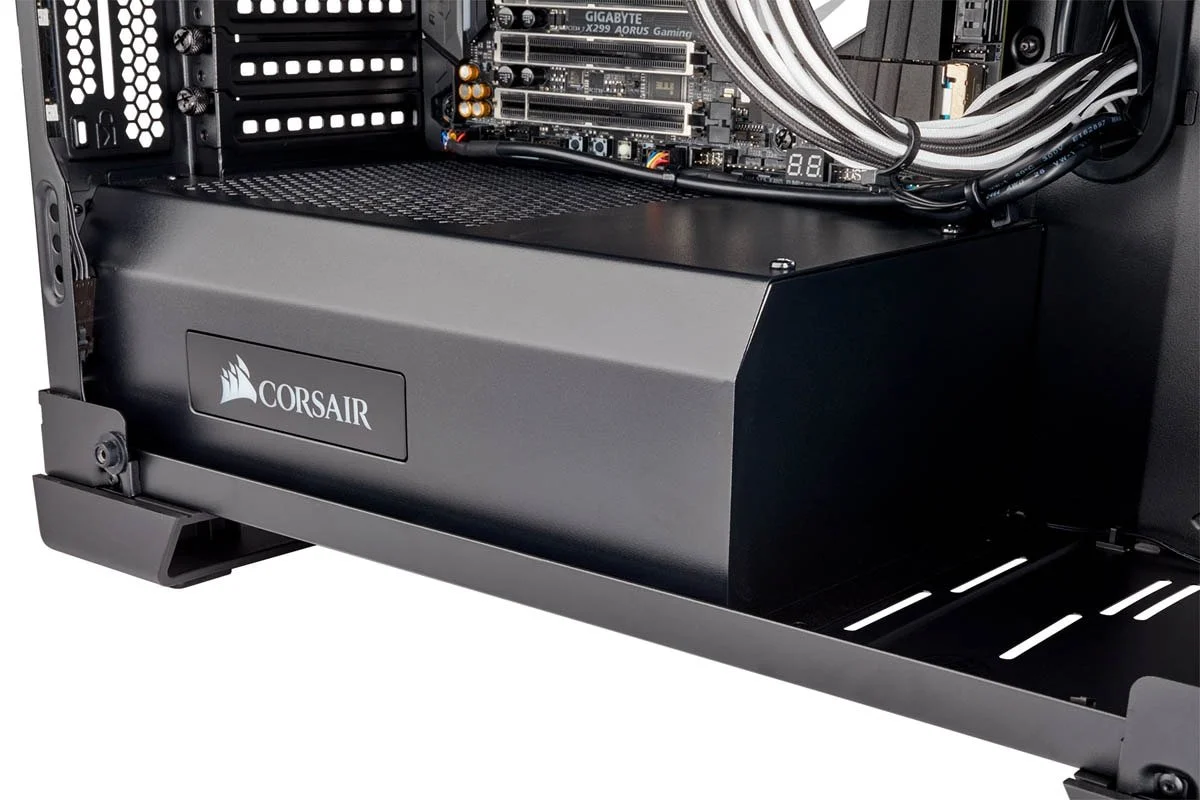
If you didn't purchase a modular power supply, hide the additional cables behind the motherboard tray at the back of the PC. Today, I love the new PC cases because they include a power supply shroud, a cable management dream. It hides your PSU, but it also hides excess wires.
A PC case that has a PSU shroud is a must buy. Why? Because hides the PSU, duh?
Place the panel back on your case, plug the AC cord and flip the power switch on the rear PSU.
Now the PC is ready for operation, and you should now have any issues for the next few years--at least without problems regarding the power supply. Good luck.


